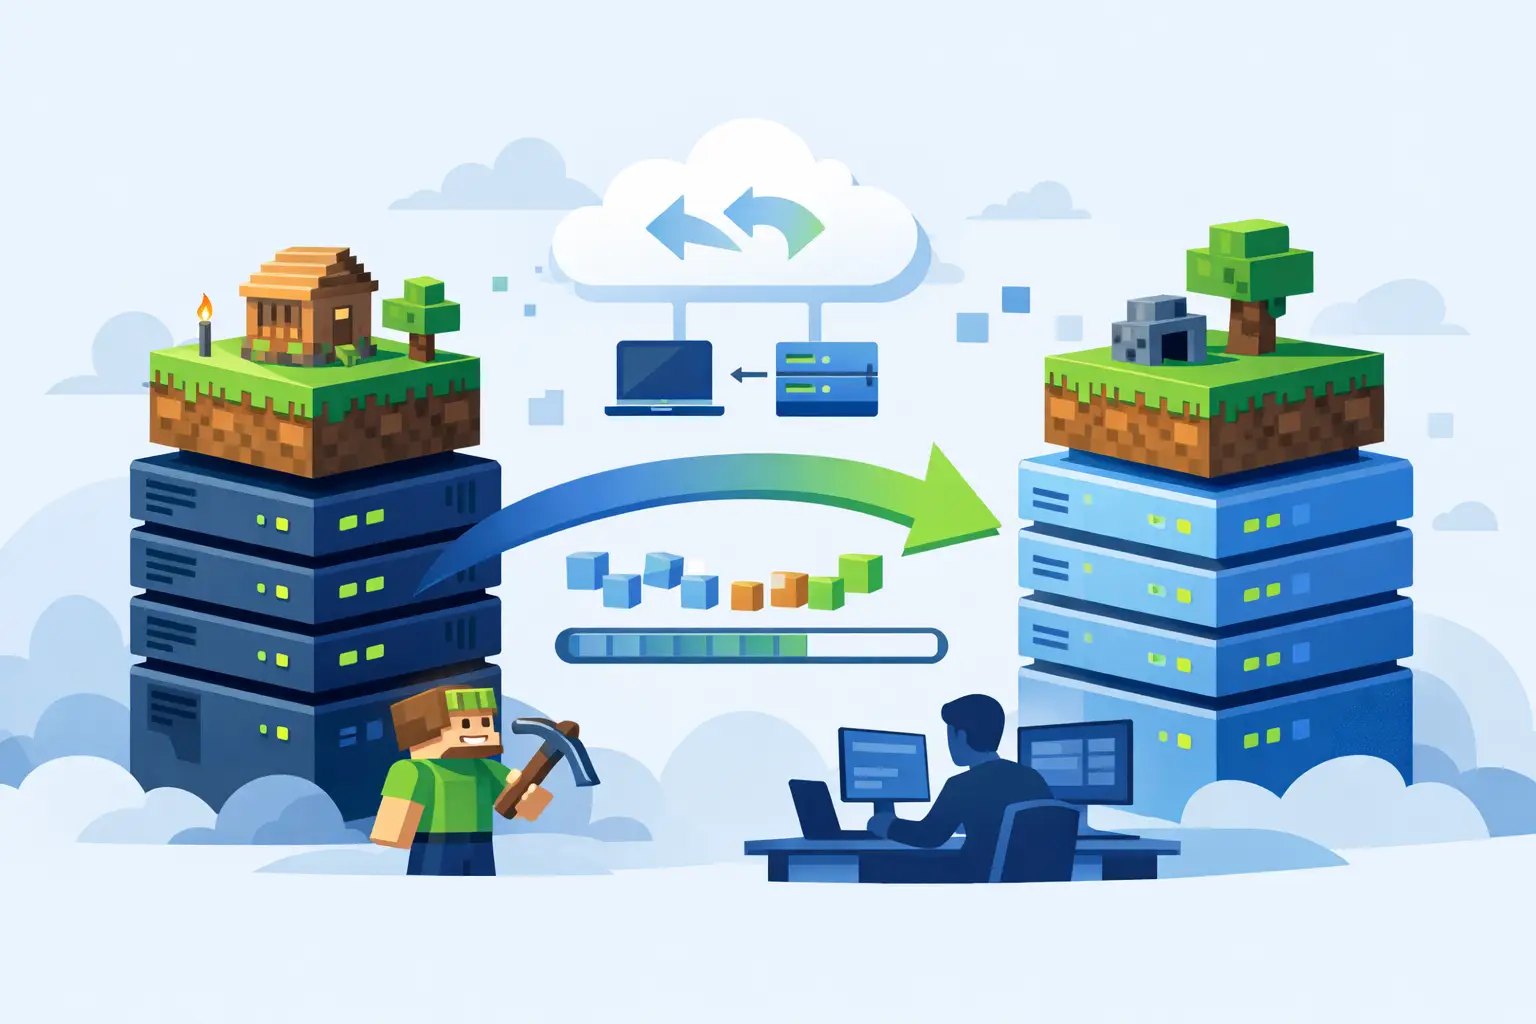
A server can look fine from the console while players are quietly losing patience. Chunks load late, mobs freeze during peak hours, backups are unclear, and every update feels risky. If you need to switch Minecraft server host providers, the goal is not merely moving files. It is moving your world, player progress, mods, plugins, and community without turning migration day into a disaster.
The good news: a clean move is usually much easier than rebuilding a server from scratch. The hard part is knowing which files matter, matching the right Java and server versions, and refusing to rush the final cutover. Handle those details in the right order, and your players may only notice that the server feels faster.
When to switch Minecraft server host
Lag is the obvious reason to leave, but it is not the only one. A server that holds 20 TPS with three players and drops the moment your community logs in has a performance problem, often tied to weak single-core CPU speed, overloaded nodes, or slow storage. Minecraft's main server thread does not benefit much from a pile of low-speed cores. It benefits from fast cores that can keep ticks moving.
You may also be outgrowing the host's setup. Modpacks can need more RAM and storage than a small Vanilla world. A Paper or Purpur server with several plugins may need better CPU headroom rather than more memory. Networks using BungeeCord or Velocity need reliable connectivity between instances. If your current provider makes these upgrades awkward, charges for basic backups, or leaves you waiting on generic support, switching is reasonable.
There is a trade-off, though. Do not move simply because a plan advertises a huge RAM number. More RAM does not repair a bad mod, an overloaded plugin, poor JVM flags, or an enormous entity farm. Check your timings or profiler data first. If TPS falls when a specific plugin task runs, fix that issue alongside the migration. Better hardware gives you room to breathe, not permission to ignore a broken setup.
What to check before you move
Start by documenting the server as it exists now. Record the Minecraft version, server software, Java version, startup flags, allocated RAM, port settings, and any scheduled tasks. For a modded server, write down the exact Forge, NeoForge, or Fabric loader build. A version mismatch can prevent the server from starting or, worse, create world compatibility issues.
Next, review your current file structure. Most migrations need the world folder, world_nether, and world_the_end, plus configuration files, plugins or mods, and the player-data files inside each world. Do not forget whitelist.json, ops.json, banned-players.json, banned-ips.json, server.properties, and permission-plugin data. If you run LuckPerms with a database rather than local storage, export or migrate that database too.
A few less obvious files often matter. Custom resource-pack settings, plugin-generated maps, Discord integration tokens, economy databases, and mod configs can all live outside the main world folder. If you use a map plugin, its tiles may be large enough to affect transfer time. If you are unsure whether a folder is needed, include it in your backup first. Storage is cheap compared with explaining missing player homes to your community.
Before changing anything, create two backups: one through the host's backup tool and one downloaded copy stored locally or in separate cloud storage. Verify that the archive finishes successfully and has a believable file size. A backup that exists only as a status message is not a recovery plan.
How to switch Minecraft server host safely
The safest migration follows a simple pattern: prepare the new server, test it privately, then make one final copy after stopping the old server. That final copy prevents players from building on the old world while you are already moving it.
1. Build the destination before announcing the move
Deploy the correct server type on the new host. Choose Vanilla for a plain survival world, Paper or Purpur for plugin-based servers, and the matching Forge or Fabric version for modded worlds. Set the Java version before first boot. Modern Minecraft releases commonly require newer Java versions, while older packs may fail on them.
Upload a copy of your server files, then start the server with a temporary port or whitelist enabled. Do not open it to the entire community yet. This gives you a controlled test environment where a missing config does not become a public problem.
2. Test what players will actually use
Join with the same game version your players use. Check spawn, the Nether, the End, homes, claims, ranks, shops, permissions, and any custom commands. For modded servers, confirm that the client modpack connects without registry errors and that modded blocks, dimensions, and inventories behave correctly.
Watch the console during startup and while generating or loading chunks. A few warnings are normal on some packs. Repeated errors, failed plugin enables, or a server that sits below 20 TPS while empty are not. Fix those before cutover. It is far easier to troubleshoot privately than with 40 players asking why their kits disappeared.
3. Schedule a short maintenance window
Give players a clear time and ask them to log out before the move. A short maintenance window is better than a vague all-day outage. If you run a public server, post the new connection details only after the destination has passed testing.
At the scheduled time, stop the old server cleanly from its control panel or console. Never copy an actively running world if you can avoid it. Minecraft keeps region and player files in memory, and an incomplete copy can leave you with lost progress or corrupted chunks.
Run a final backup, then transfer the newly changed world files and data to the destination. Replace the earlier test copy, start the new server, and review the console once more. Log in yourself before reopening access. This final check takes minutes and catches mistakes such as a wrong server.properties file, a missing plugin dependency, or a port setting that was copied from the old host.
4. Keep the old server intact for a few days
Do not delete the old server the moment the new one launches. Leave its files and backups available until you know the new environment is stable. This is especially useful for large modpacks, custom maps, and database-backed plugins where a missed file may only show up after a player visits a specific area.
Change exactly one variable at a time. Migrate the world as-is first — same Minecraft version, same plugins, same Java — confirm it is stable for a day, and only then update the game, swap plugins, or bump Java. Doing all of it in one night means any problem has four possible causes and no clear fix.
Choose hardware for your actual server
A migration is the right time to stop buying hosting based on a single headline number. For most Minecraft servers, CPU quality matters first. High-clock Ryzen or EPYC infrastructure gives the main thread a better chance of holding TPS when players explore, redstone runs, farms activate, or plugins process events.
NVMe Gen4 storage also makes a practical difference. Faster disk access helps with world saves, backups, startup, and chunk-related activity. It will not eliminate lag from a poorly optimized 300-mod pack, but it removes storage as a common bottleneck. Built-in DDoS protection matters too if you operate a public server. An attack should not be able to knock your community offline because you became visible.
Plan RAM around your software and player count, with breathing room for peaks. A lightweight Paper SMP might run well on a modest allocation. A heavily modded Forge pack, a large render-distance setting, or a busy public economy server needs more. Avoid allocating every available gigabyte to Java, though. The host and panel need system headroom, and excessively large heaps can make garbage collection less predictable.
A good managed host should make these choices less painful: one-click server deployment, a familiar Pterodactyl control panel, accessible logs, automatic backups, and support that recognizes the difference between a Fabric loader error and a plugin conflict. Elysium is built around that Minecraft-specific approach, with fast Ryzen and EPYC hardware, NVMe Gen4 storage, DDoS protection, and migration help when you need it.
Common migration mistakes that cause rollbacks
The most common failure is copying the world but forgetting the data around it. Players then join the correct map but have no permissions, homes, ranks, or inventory data. The second is changing too many variables at once. If you move hosts, update Minecraft, replace plugins, and change Java versions in one evening, you will not know what caused a problem.
Another mistake is treating a test boot as a complete test. A server can start successfully while a specific dimension, claim plugin, or database connection is broken. Test the features your players depend on, not just whether the green online indicator appears.
Finally, do not let DNS changes dictate your whole schedule. If you use a custom address, lower its TTL ahead of time when possible, but keep the old address available temporarily. Players can use the direct new IP and port while DNS propagation catches up. Clear communication beats hoping every device updates at the same moment.
A host switch should feel like a controlled upgrade, not a leap of faith. Make a verified backup, reproduce your environment, test the destination under real conditions, and only then flip the server your players use. Your community is there for the world you built together. Give them a move that protects it, then let them enjoy the faster ticks.
Elysium runs on high-frequency Ryzen and EPYC hardware with NVMe Gen4 storage, automatic backups and DDoS protection — and we help carry over your world, plugins, mods and configs so nothing gets left behind. Pick a plan on the order page, or see how our migration works first.